
Lizzard Loves Spring.
Well, I mean, I don't love the cold/rainy/windy parts of it. Nor "Spring Forward" into Daylight Savings Time. Dark mornings? No thank you. No, not at all.


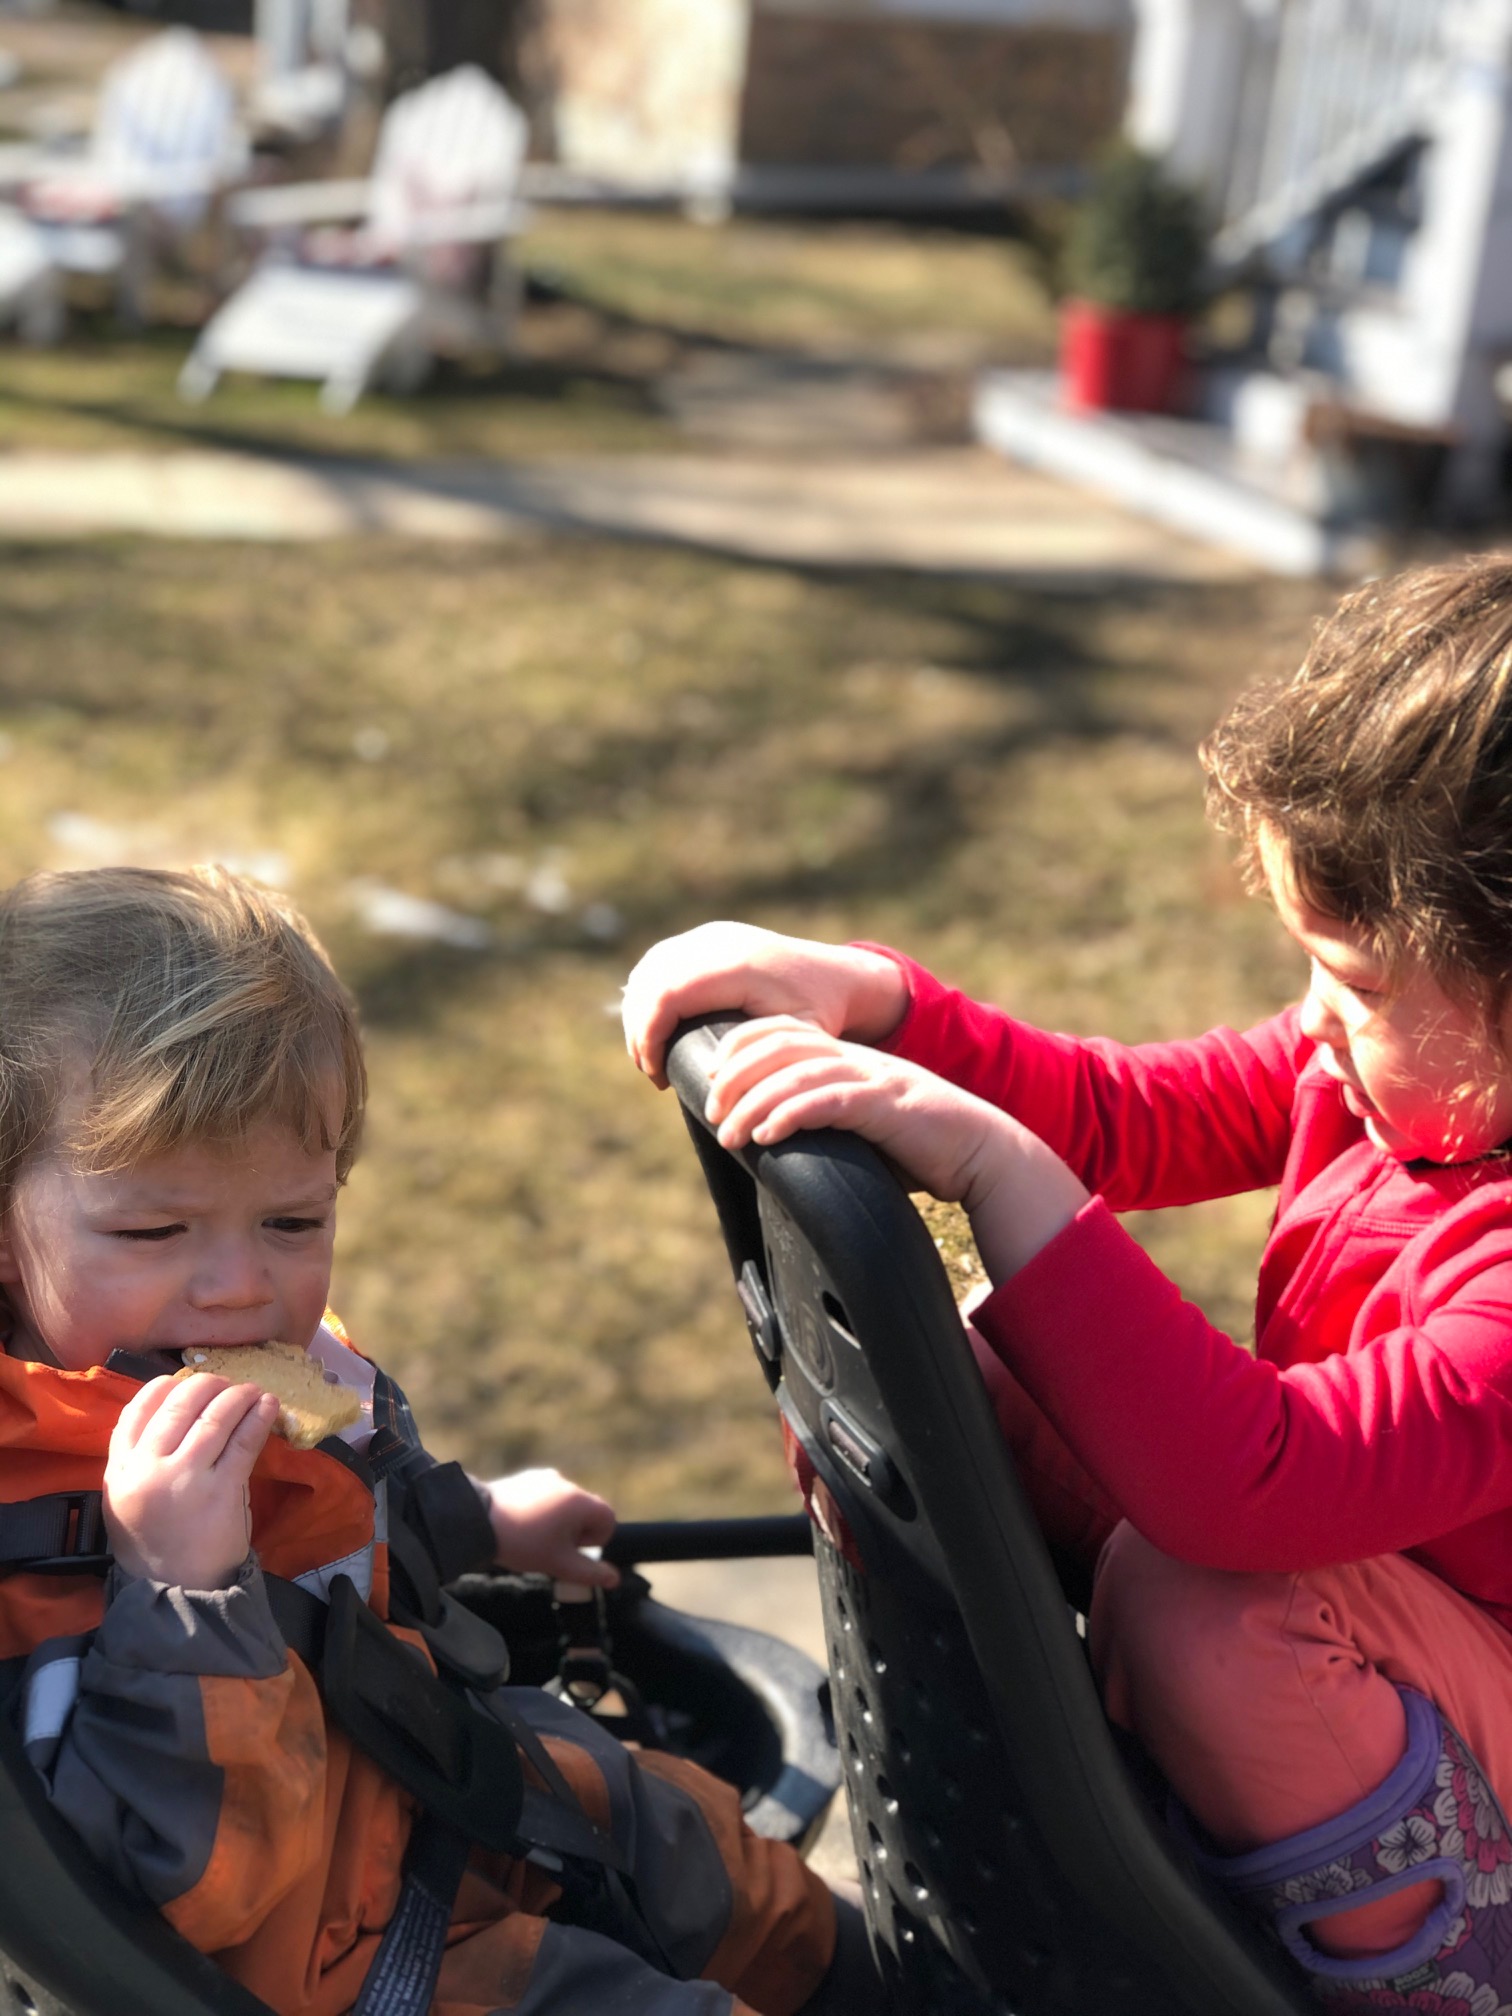
But the shockingly (& deliciously) sun warm days that rise out of nowhere to remind you that you won't always be cold. The trusty spring flowers pushing their way up through the melting snow, proving that anything is possible. The birds singing loud & proud songs especially in the early morning (aka right now). The ever present mud puddles available for the Bug & Henry Pants to splash in. The sense of starting over/renewal that always comes this time of year. The bikes coming out of their winter hiding place in the shed to trundle us along on adventures (mainly to the "bakery store" as we lovingly refer to Tags Bakery and local playgrounds). Digging in the dirt again - a slow preparation for planting our garden beds after Mother's Day. Planning for socially distanced Easter celebrations with BoBo & the Kearney clan. Daydreaming about travel beyond our area. Baking Irish Soda Bread with Lulu Bug. Occasionally running in a tank top, strange how quick it is to get out the door when you don't need to bundle up so much. Spring in our house also brought our first COVID-19 vaccination! Ice cream cones (with frinkles - duh) to celebrate Chris!**


Spring in the Chicagoland area is certainly not my favorite season. But I do find plenty to love about it. What do you love about Spring wherever it is that you call home?

 |
**Usually this list would include some spring break travel, but not for us yet. Travel is on hold until we have all those shots in our arms. Oh COVID-19. How you royally screw with so many things!


